This article is intended for customers that are using the Pro version of ClockOn. If you are using the Starter or Standard packages please refer to our Adding Employees article.The ClockOn Pro version enables an advanced onboarding process. This provides additional functionality, such as the ability to generate, send, and store employment contracts from internal templates and preform "Right To Work" employee checks.
This article contains the following items
Creating Onboarding Requests
Before adding employees, we recommend reviewing the Document Templates article. This is useful for creating your staff employment contract templates and configuring settings that assist with the employee onboarding process.
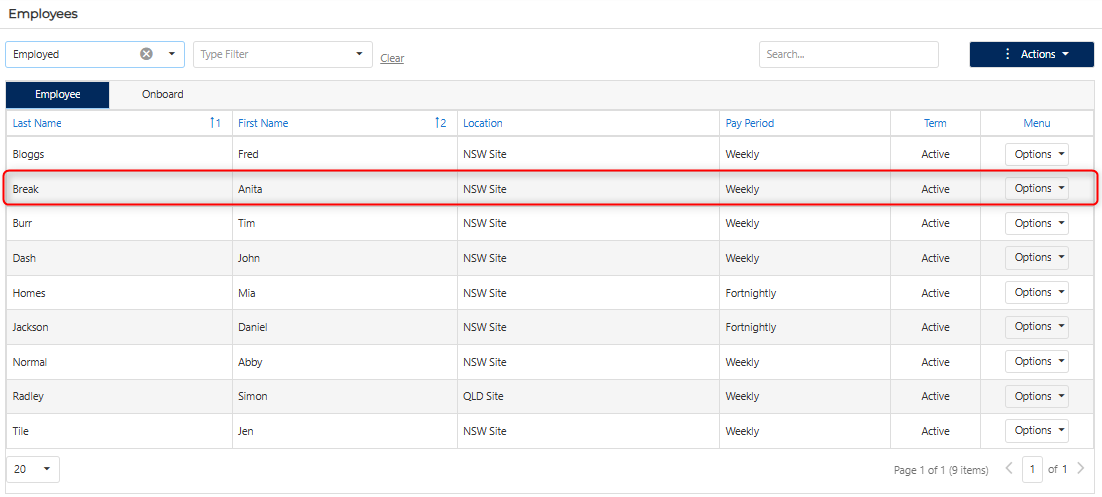
To begin the onboarding process, open the employee list screen and use the Actions > Onboard Employee option.

Default employee information will be required to complete the initiation of this process. You will need to enter the employee's
- Employee details: Name and Email
- Job details:
- Job title.
- The appropriate Fair Work Information Statement.
- Employment start date.
- Employment Details:
- Employee type (full time, part time, casual, or other).
- Pay Type (hourly or salary).
- Hourly or Salary rate (the option varies based on the previous setting).
- Pay Period (attach the employee to a payroll period cycle).
- Award (contains the listing of rule sets, rate sets, and allowance sets).
- Rule Set (item within the award selection, this contains the pre-set rounding, overtime, penalty, leave, and super payment conditions that will apply at payroll).
- Configuration:
- Department (The employee's primary work department).
- Category (used on the payslips to categorise employment, these can be added from the Setup > Additional Settings > Payslip Categories screen).
- Team(s)
- Primary and Secondary Manager (who is in charge of managing the employee).
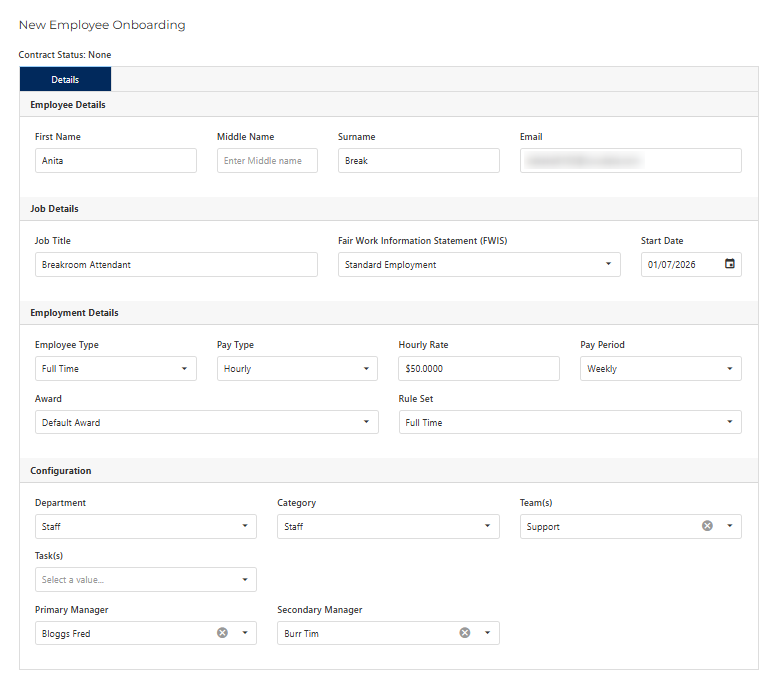
Enter the details as needed and use the Save button to complete the process.
Once the onboarding record is saved it can be accessed from the employee list by using the Onboard tab

Preparing Employees for Onboarding
With the request item created, you can now start actioning items related to the onboarding process. On saving the onboarding record you will see the following screen, with the details that you entered in the initial process.
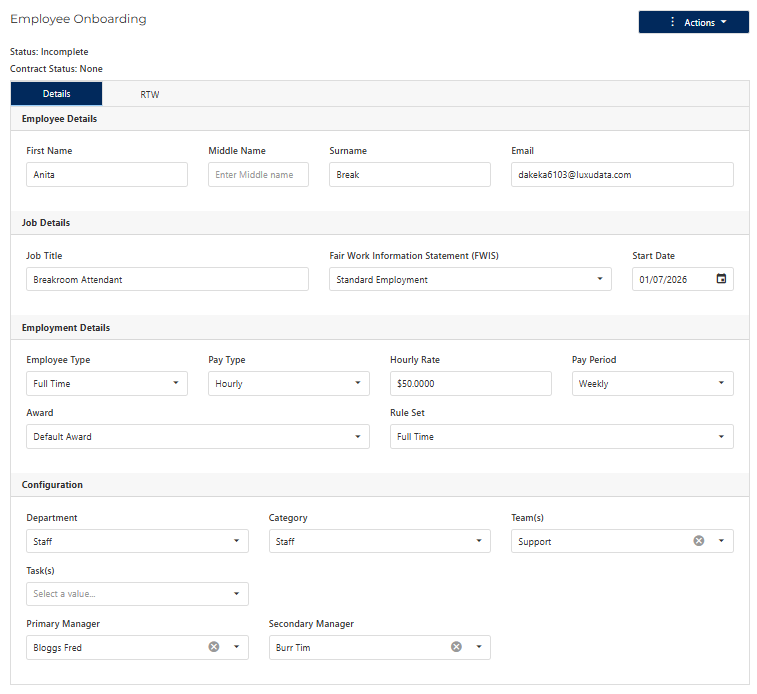
Actions that you can preform within this feature include
- Generating the Employee Contract
- Emailing the Employee Contract
- Inviting the Employee
- Right To Work (RTW)
- Uploading Documents
- Completing Onboarding Requests
Issue the Employee Contract
ClockOn can use document templates to prepare and issue contracts to employees.

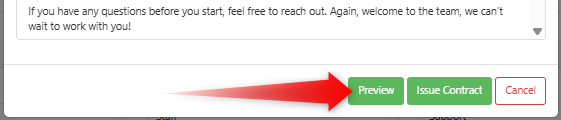
Selecting this option will prepare an introduction email with the selected contract template to be generated as an attachment.
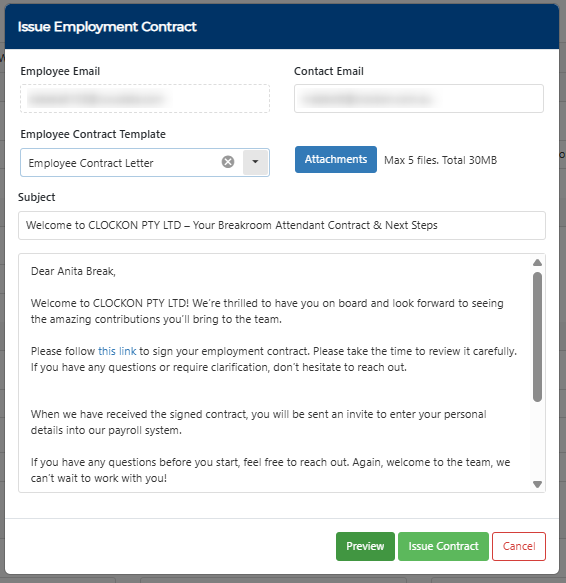
Additional documents can be attached to this email to a maximum of 5 files or 30mb. The generated contract can be previewed before sending using the Preview button. If changes need to be made they will need to be done in the Document Templates section.
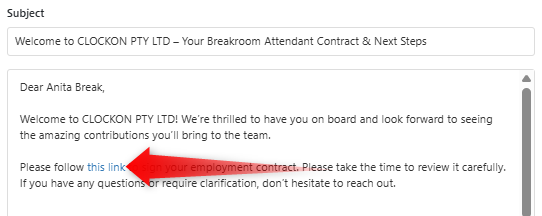
Once sent the employee will need to use the Please follow this link to sign link. This they will be taken to an online copy of the contract for their review.
This will then open a screen within ClockOn for the employee to review the agreement and sign and accept if they are happy with it

On completing this the employee will receive a confirmation email with an attached PDF copy of the signed agreement.
Inviting the Employee
Once the contract has been signed, you can choose to trigger the FLARE onboarding process using the Invite Employee option.

This is an optional step, if desired this can be skipped and the details can be manually set using the Complete Onboarding actions option.This will send an invite to the employee using our FLARE integration. For information on the employee process flow for how this works please see our Employee Onboarding article.
Right To Work (RTW)
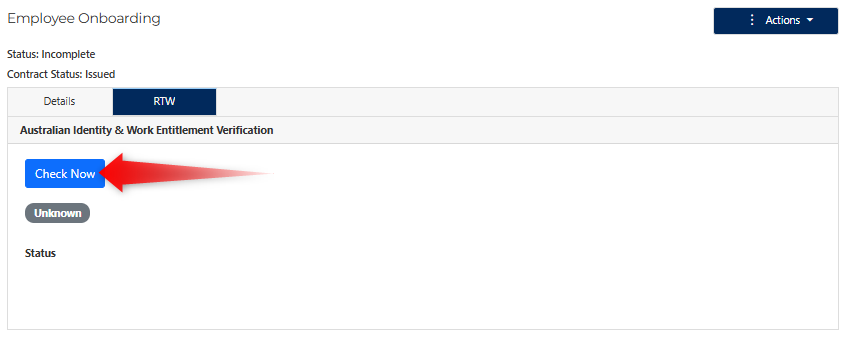
The Right To Work feature allows you to preform a check on the employee's Australian citizen or visa with permission to work status.
ClockOn recommends gaining the employee's consent prior to doing these checks. To preform this check click the Check Now option.
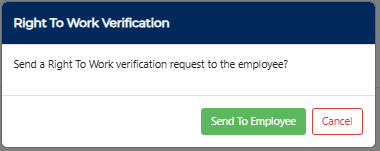
This will request to send an email to the employee for them to complete a process of providing identity verification documents to confirm their right to work status.
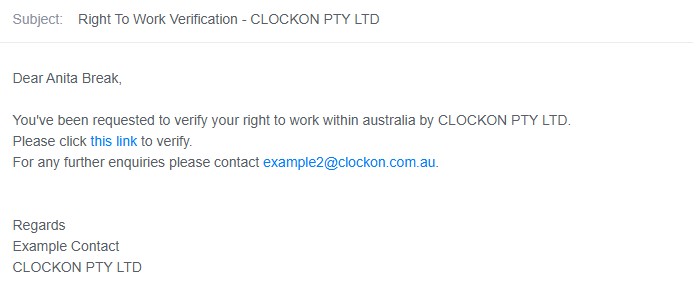
Like the contract signing request, the employee will receive an email with a link requesting them to verify this information
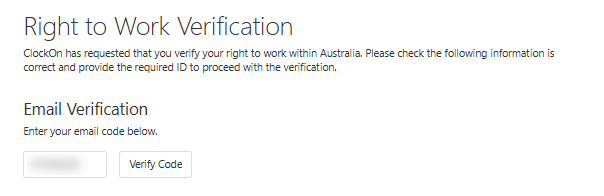
When they follow this link they will be taken to a screen in ClockOn Online and asked to enter a verification code, using the Get Code button will send them an additional email for authentication.
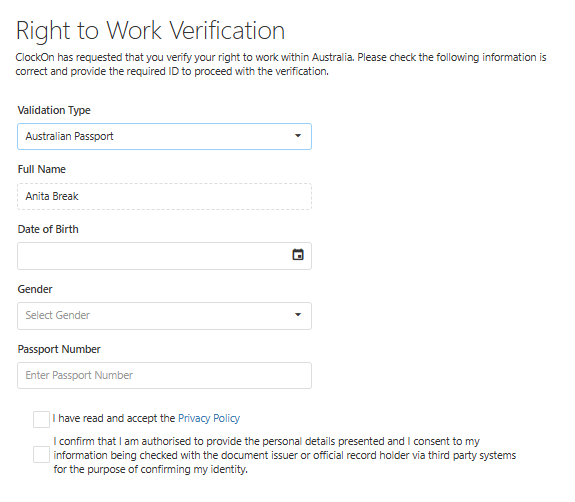
From there the employee will be asked to select a document validation type. The selections available include.
- Australian Passport
- Australian Citizenship
- Australian Birth Certificate
- VEVO Work Entitlement
Each option will require differing specific information provided on the employee's official documents in order to complete.
As an example the Australian Passport option requires the employee's date of birth, gender and passport number.
Completing Onboarding Requests
When you are ready to proceed, you can complete the employee's onboarding process to convert them to a standard employee for use in the system. This is done using the Actions > Complete Onboarding option.

This will then present the standard Add Employee screen (information on the options available can be found in our Adding Employees), with information prefilled from previous steps in the process.
For employees invited using the FLARE onboarding process, most of their details will be prefilled. If they haven't completed this or you have elected not to use this feature then the fields will need to be entered manually.Once complete the status of the employee's onboarding will be adjusted to Completed in the list.

They will now have an employee record on the employee list.